Using JetBackup 5 to Backup or Restore Site/Files

Marc
Last Update 5 months ago
You will need to be logged into the cPanel account to follow the steps.
If you're not sure how to access your cPanel service — please, follow this guide before continuing: How do I login to cPanel?
PLEASE NOTE: When restoring databases for e-commerce sites, exercise caution as ongoing orders or transactions may be in progress. Performing a restoration process could potentially disrupt or lose crucial data, impacting customer orders and transactions. Ensure that any backups used for restoration are up-to-date and carefully consider the timing of the restoration to minimize potential disruption to your e-commerce operations.
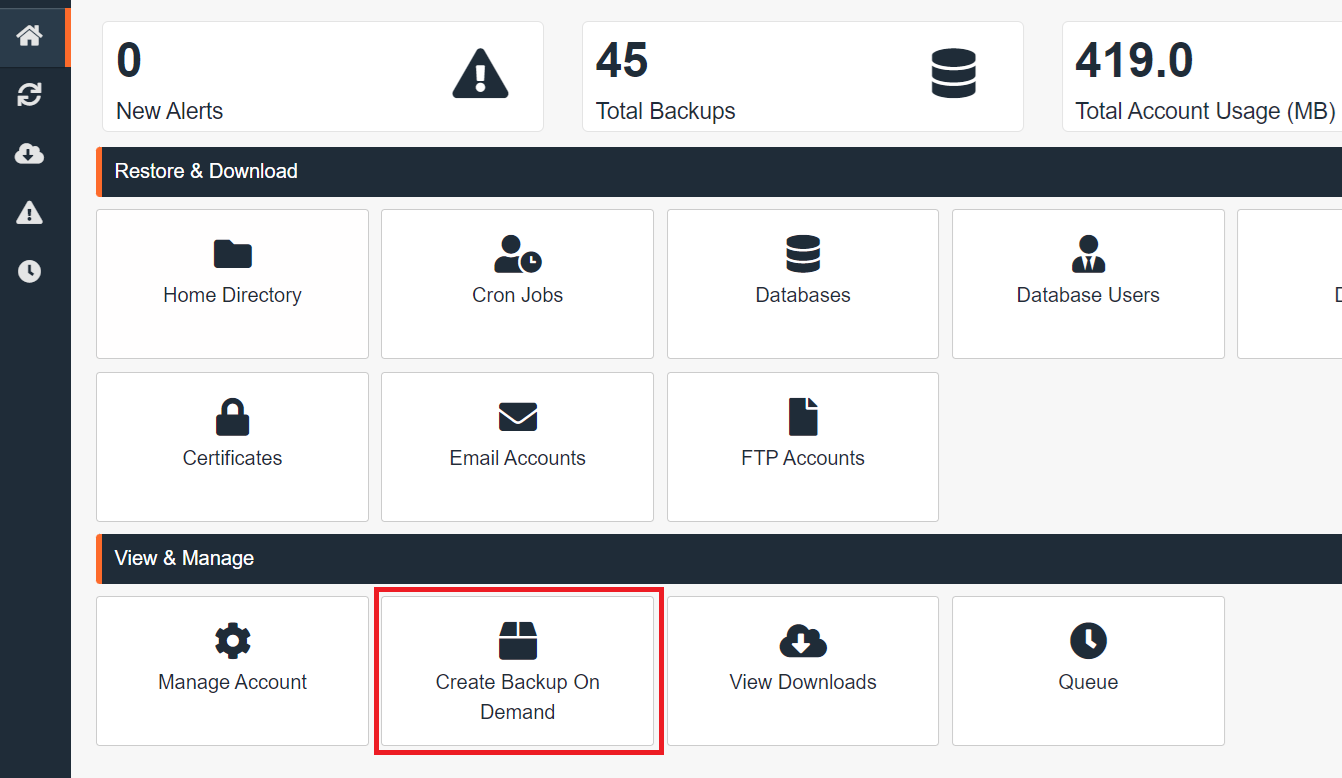
To create a backup using JetBackup
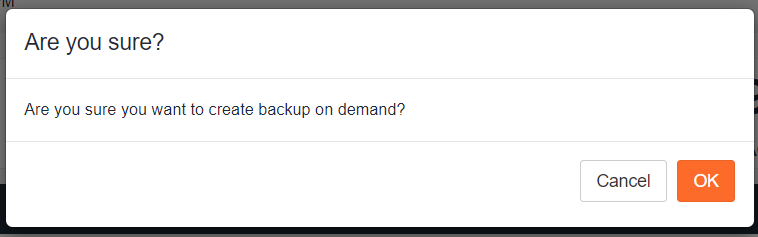
4. Click the 'OK' button to initiate your on-demand backup
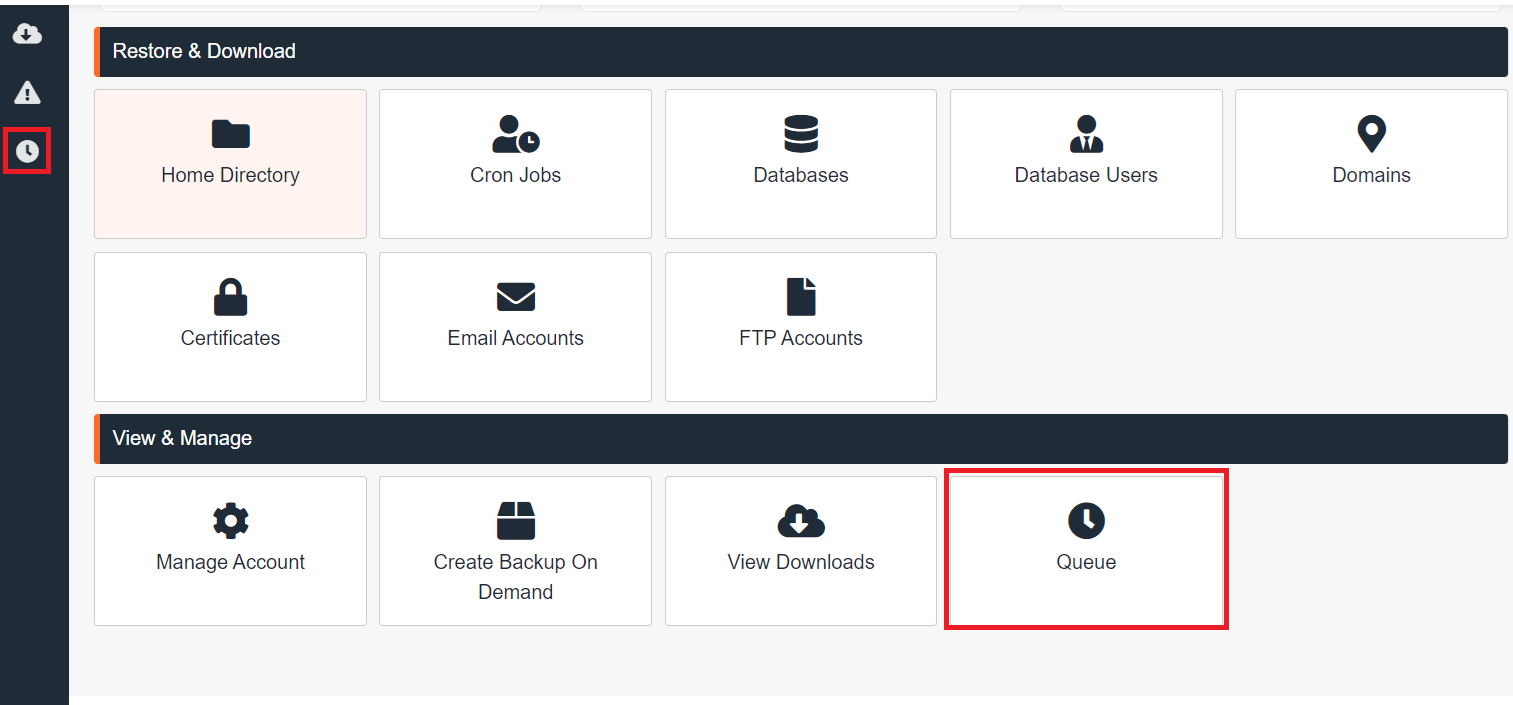
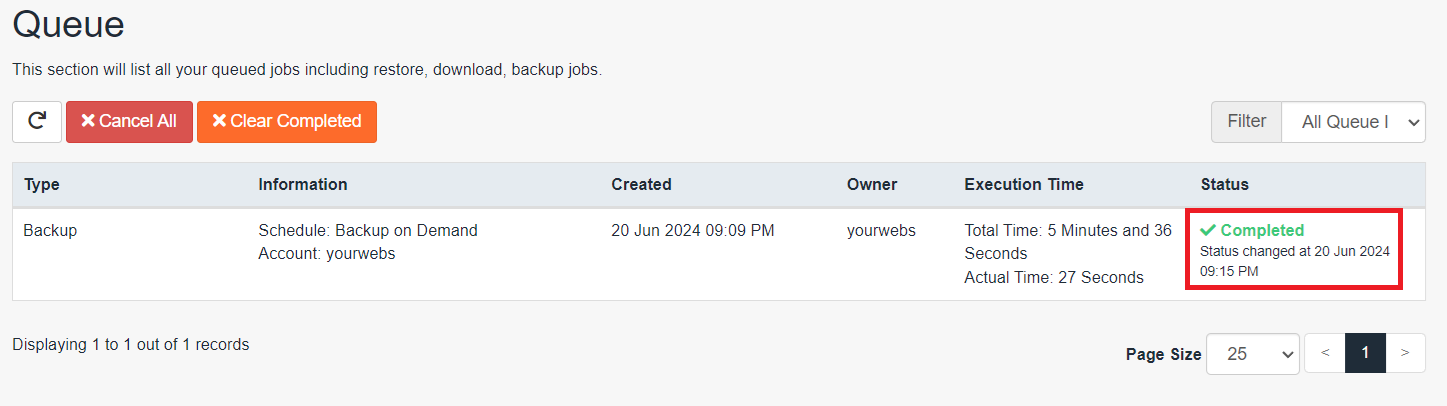
5. Then you can go to 'Queue' to check the status of your backup process.
6. You will see a green check icon indicating completion when your backup has finished processing in JetBackup 5.
To restore files/databases using JetBackup
As an example, this guide shows the steps to restore the WordPress config file (wp-config.php). The same steps can be used to restore any file or folder/directory.
1. Login to cPanel
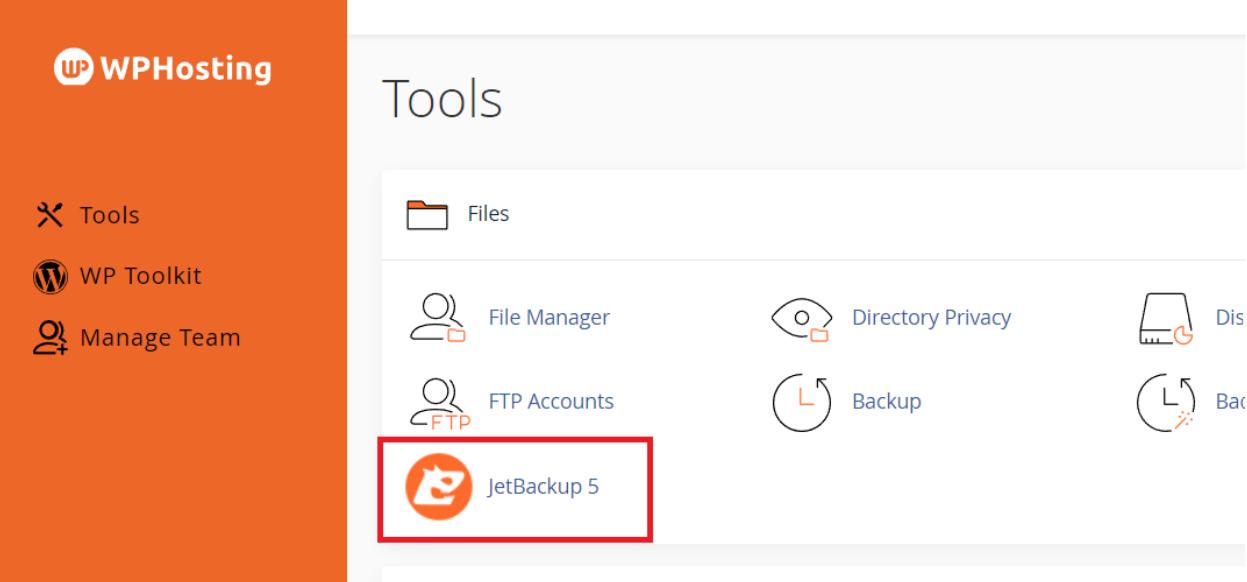
2. Find the 'JetBackup 5' tool listed in the 'Files' menu.

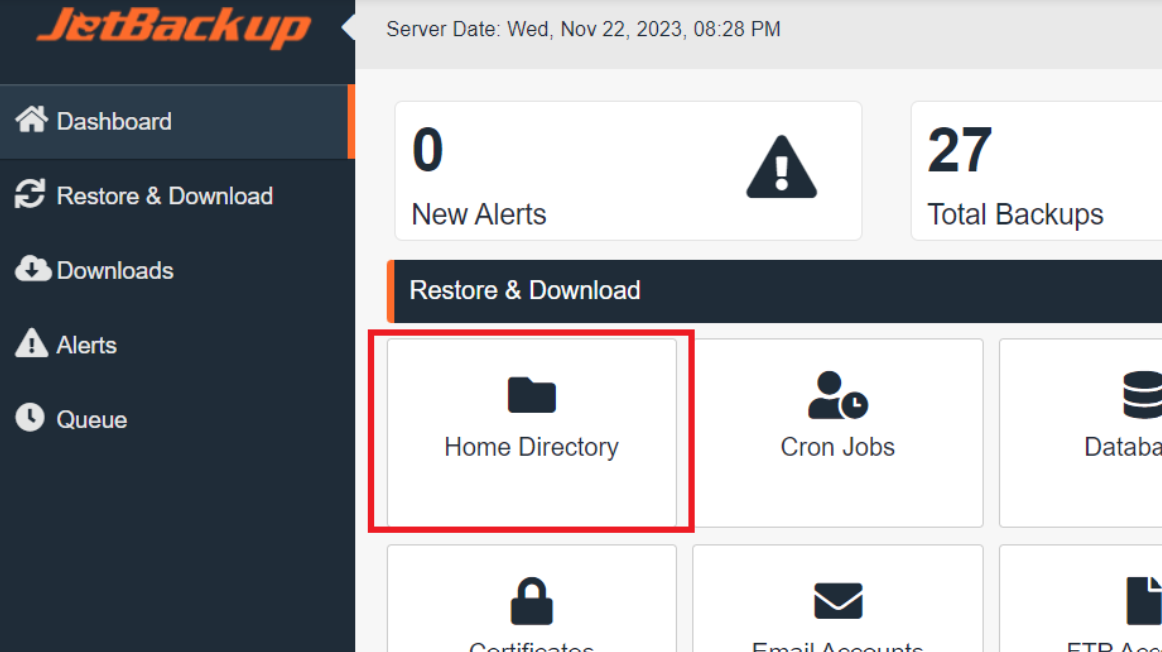
Note: To restore databases, go to 'Databases'. Otherwise choose 'Home Directory' if restoring files/folders.

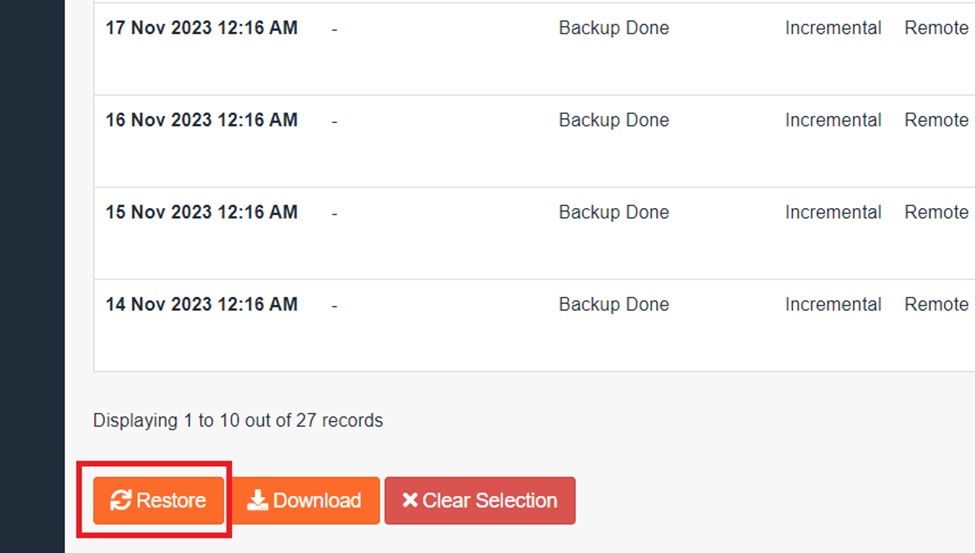
4. A list of available backups will be shown here.
- Find the one with the date that you want to restore from.
- The selection will be highlighted when moving the mouse over it, click the backup you want.
- Once selected, click the 'Change File Selection' button that will appear in the 'Selected Files' column.

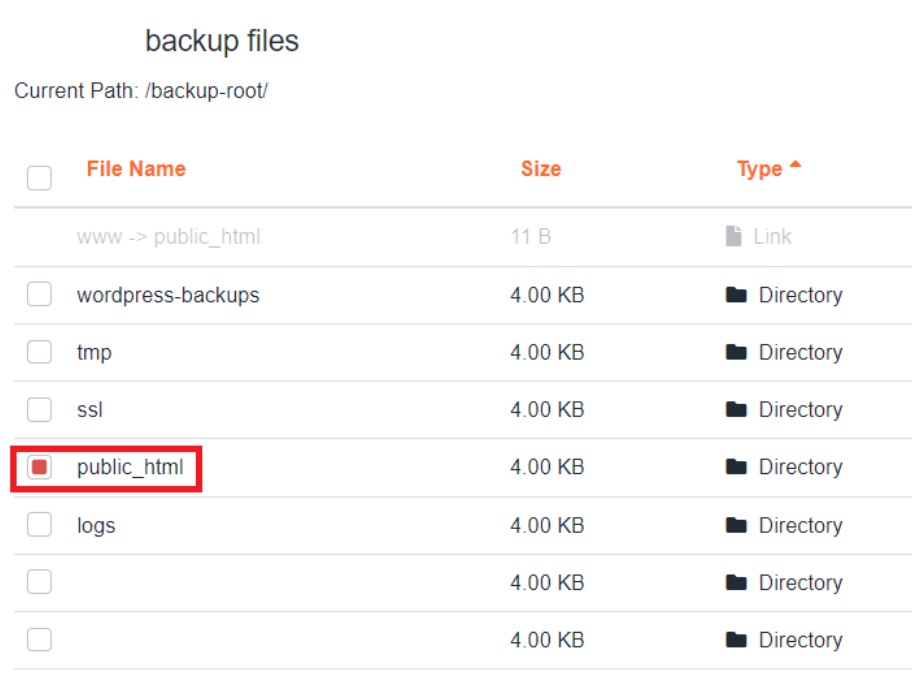
5. Next, a file selection window will appear. Find your site's root directory (the default is 'public_html'). Click on the folder's name to access the files inside.
Be sure to select the folders where your WordPress installation is located. If you are having trouble locating it, you can follow this guide: How to check my site's root directory
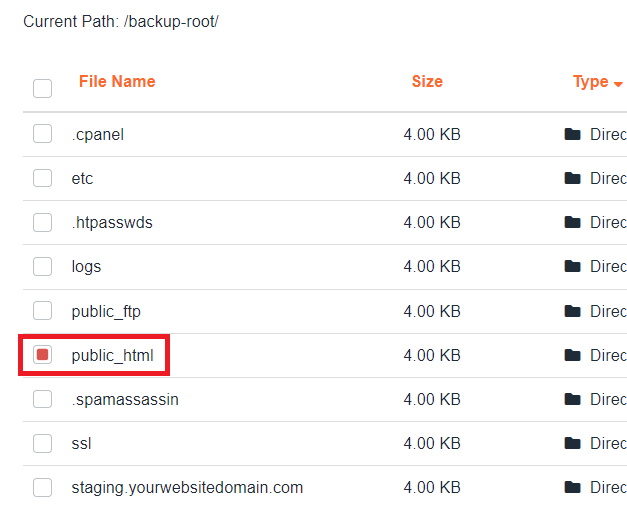
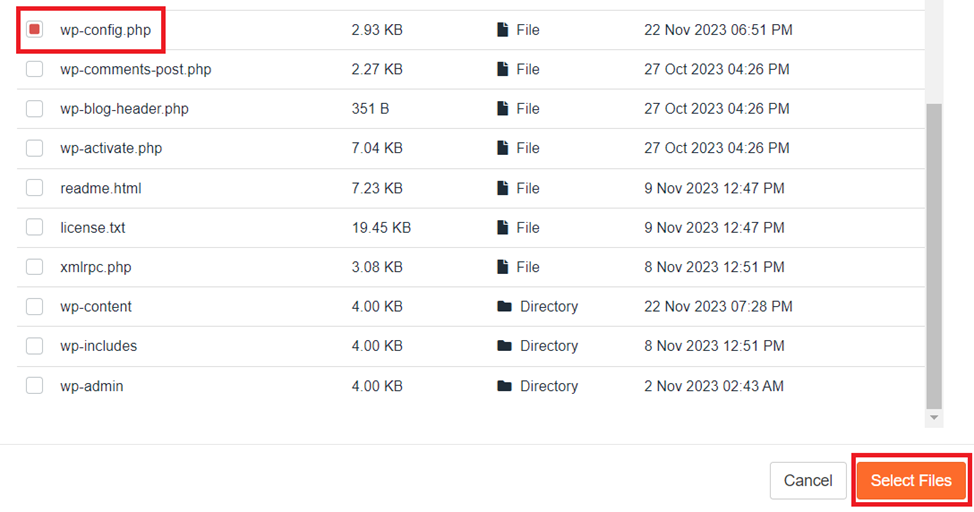
6. Select the ‘wp-config.php’ file by clicking the small checkbox next to the file name. Once the files you want to restore are selected, click the 'Select Files' button.

7. Next, click the 'Restore' button.
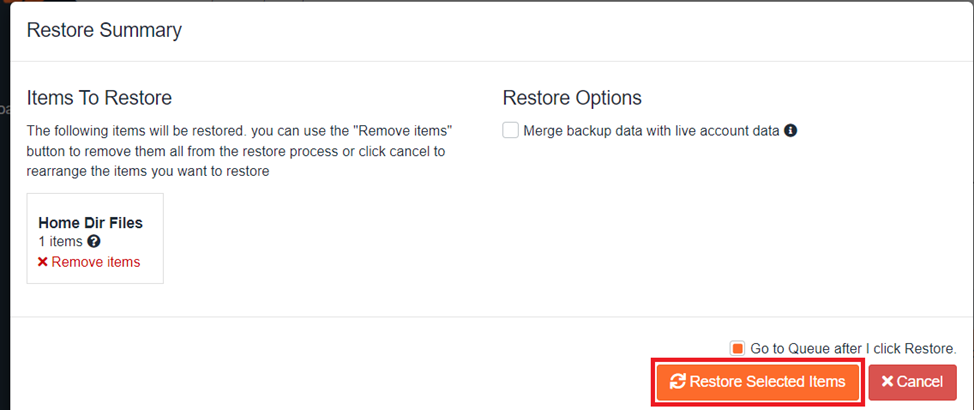
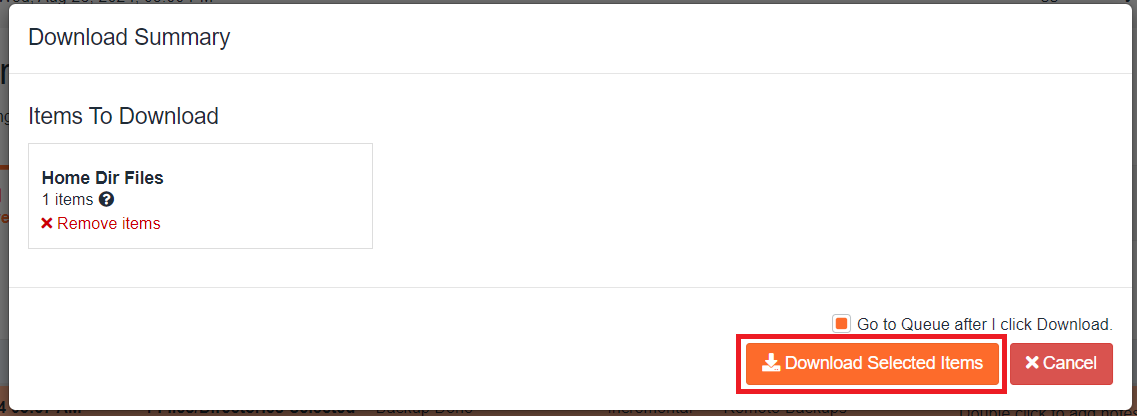
8. A 'Restore Summary' will be displayed, asking for a final confirmation before proceeding. To confirm, click the 'Restore Selected Items' button.
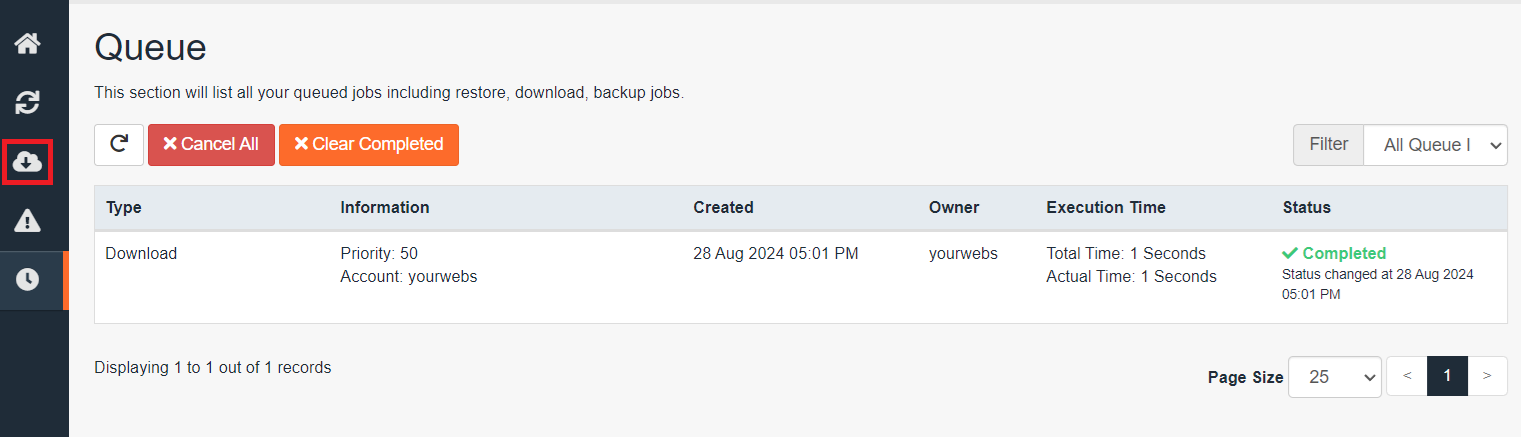
9. Next, you will be directed to the restore 'Queue', where you can view the details of the current restore/s. Once you see a green 'completed' tick in the status column, the restoration has finished.
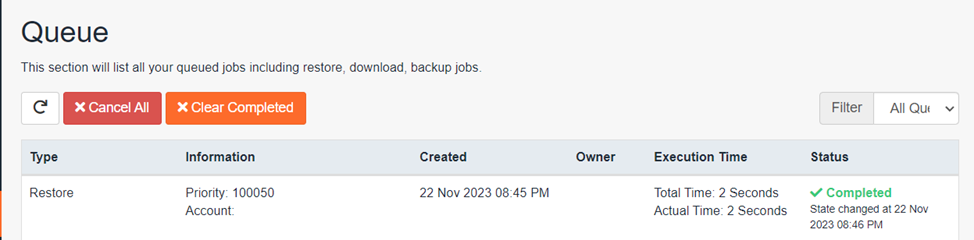
10. Once you see a green 'completed' tick in the status column, the restoration has finished.
If you need further assistance conducting your backup restore, you can always send us a support ticket and we'd be happy to assist you.
To download files/databases using JetBackup
1. Login to cPanel
2. Find the 'JetBackup 5' tool listed in the 'Files' menu.
3. Click ‘Home Directory’.
Note: To download databases, go to 'Databases'. Otherwise choose 'Home Directory' if downloading files/folders.
4. A list of available backups will be shown here.
- Find the one with the date that you want to download from.
- The selection will be highlighted when moving the mouse over it, click the backup you want.
- Once selected, click the 'Change File Selection' button that will appear in the 'Selected Files' column.

5. Next, a file selection window will appear. Find your site's root directory (the default is 'public_html'). Click on the folder's name to access the files inside.
Note: Click on the folder's name to access the files inside. Otherwise, click the small checkbox next to the folder name to select the whole folder and its contents.
Make sure to select the folders where your WordPress installation is located. If you are having trouble locating it, you can follow this guide: How to check my site's root directory
If you want to download your entire website, just select the public_html folder, click the 'Select Files' button, and skip step 6.
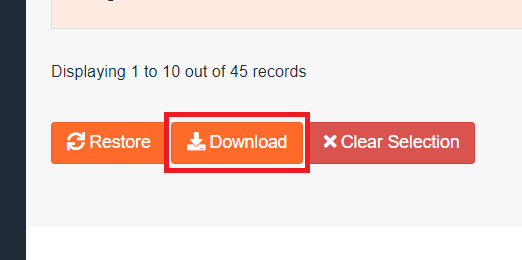
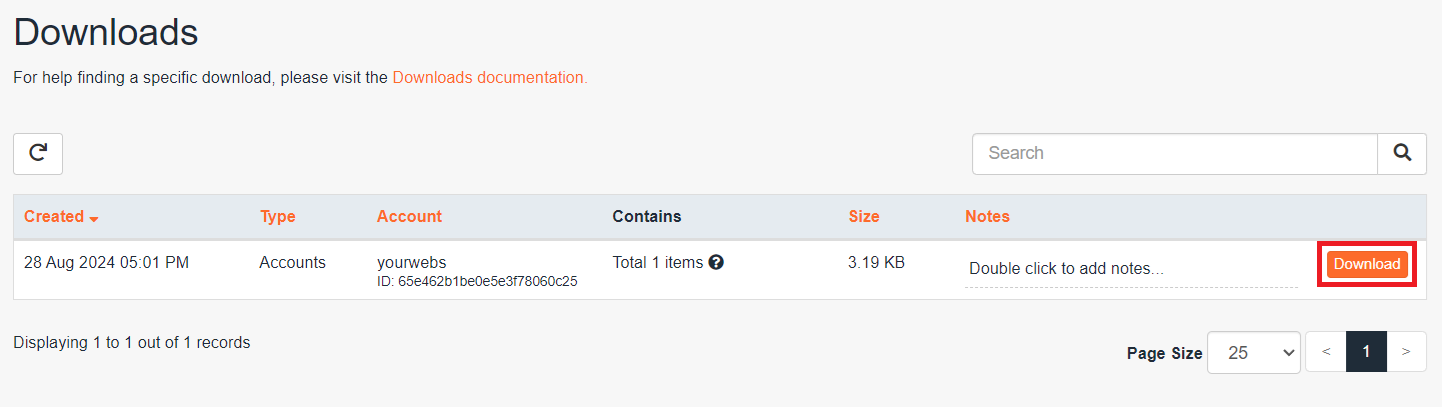
10. You will then be redirected to the download page, where you'll see a list of the download archives you've created. To start downloading your backup to your computer, simply click the 'Download' button on the right side of the archive.