How to disable WP-Cron and run It manually

Marc
Last Update 16 days ago
This topic covers processes relating to a cPanel service.
You will need to be logged into the cPanel account to follow the steps.
If you're not sure how to access your cPanel service — please, follow this guide before continuing: How do I login to cPanel?
What is a cron jo?
WordPress uses its own version of cron jobs, called WP-Cron, to handle scheduled tasks, such as publishing scheduled posts, checking for updates, running backups, etc.
By default, WP-Cron checks for and executes scheduled tasks each time someone visits your site.
Why disable WP-Cron?
- Low traffic
Tasks might not run on time because there's no one to trigger the check. - High traffic
It can slow down the site because WP-Cron keeps checking and running tasks.
Disabling the default WordPress cron (WP-Cron) and setting up a hosting/server-based cron job instead can help improve your site's performance, especially if you have a high-traffic site.
To disable the default WordPress WP-Cron
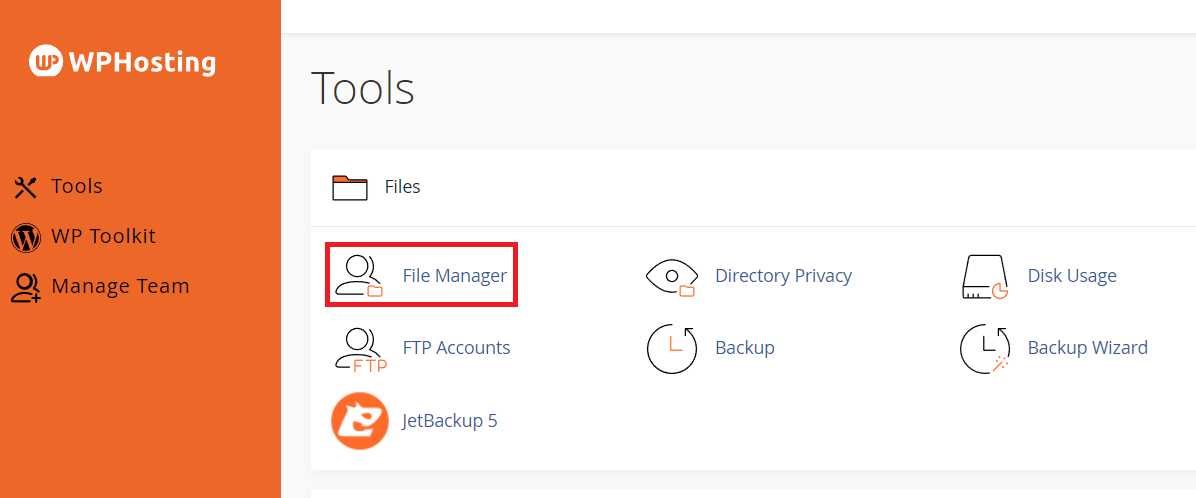
1. Access your WordPress installation directory by logging into your cPanel and navigating to the 'File Manager'.
2. Locate and open the wp-config.php file in the directory where your WordPress installation is located.
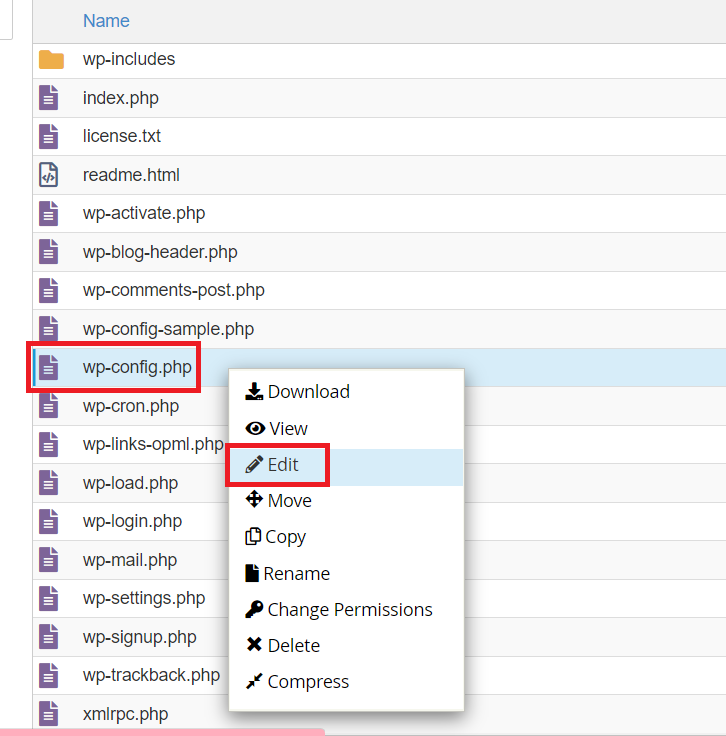
3. Add this line anywhere before the line that says /* That's all, stop editing! Happy blogging. */.

Set up a server cron job
Setting up a server-side cron job will allow WP-Cron to run at regular intervals without relying on website traffic.
1. Login to cPanel
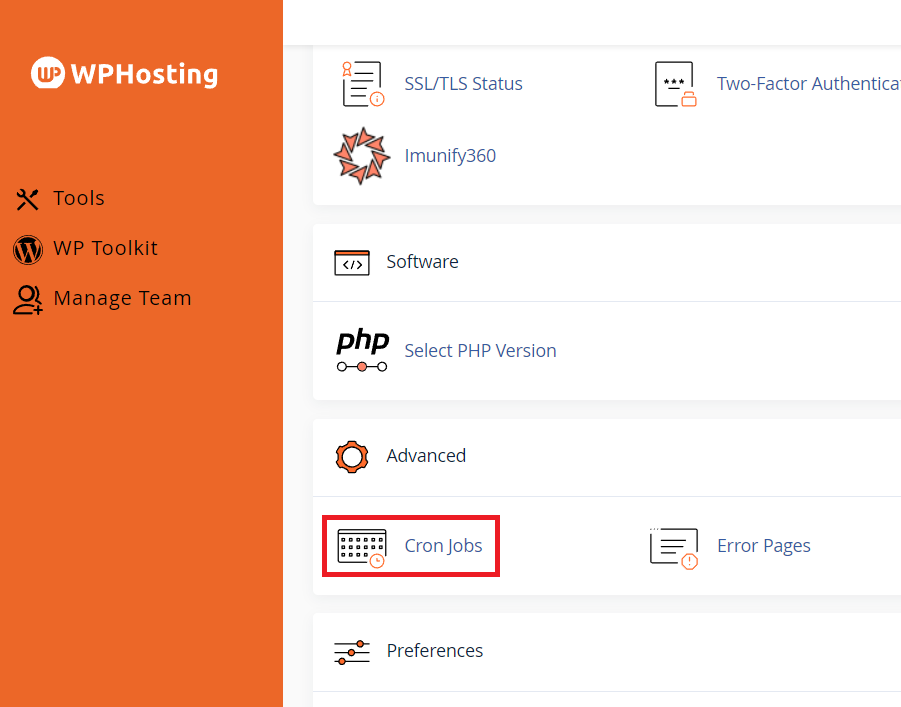
2. In the "Advanced" section, click on "Cron Jobs".
3. Add a New Cron Job:
Set the Schedule: Common Setting: Run every 5 minutes (adjust as needed).
- Minute: */5
- Hour: *
- Day: *
- Month: *
- Weekday: *
Command:
Note: Replace https://yourwebsite.com with your actual website URL.
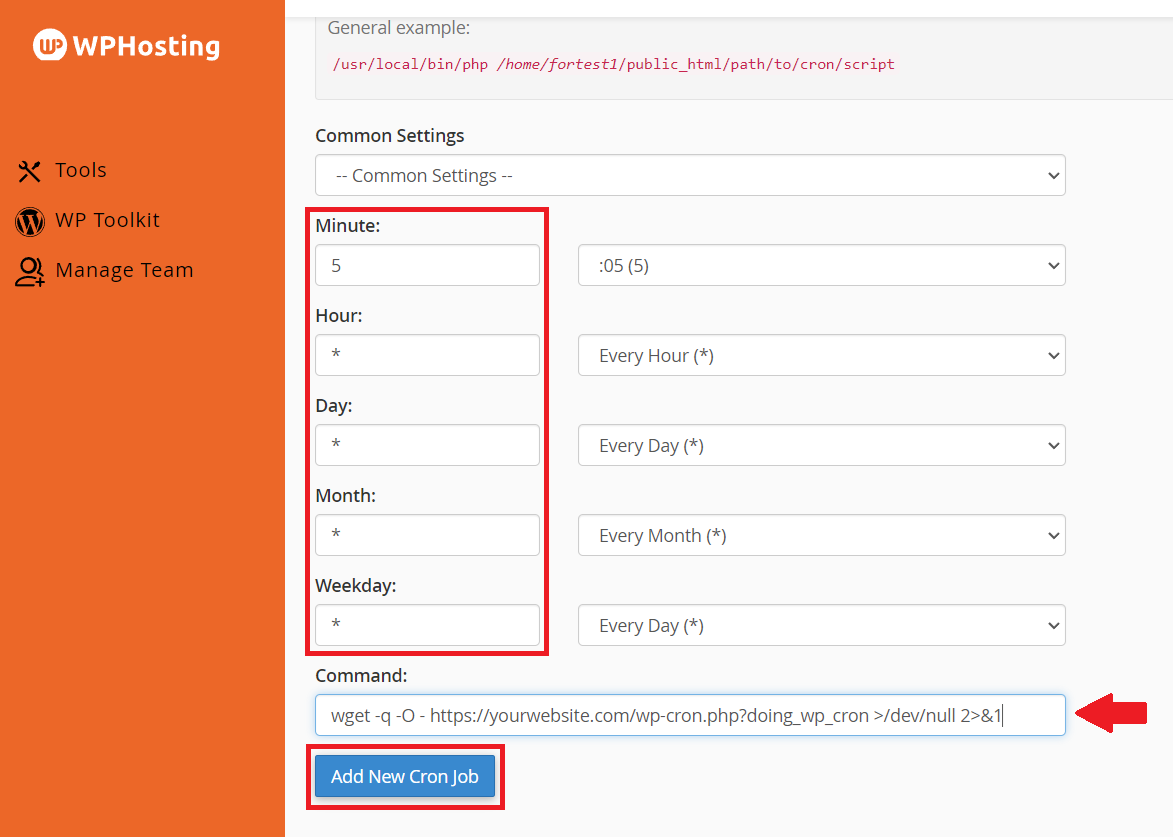
4. Click "Add New Cron Job".
This action saves the cron job settings and schedules it to run according to the specified interval. This ensures that the cron job will be executed regularly without needing further intervention, automating tasks such as scheduled backups, updates, or other automated processes on your server.
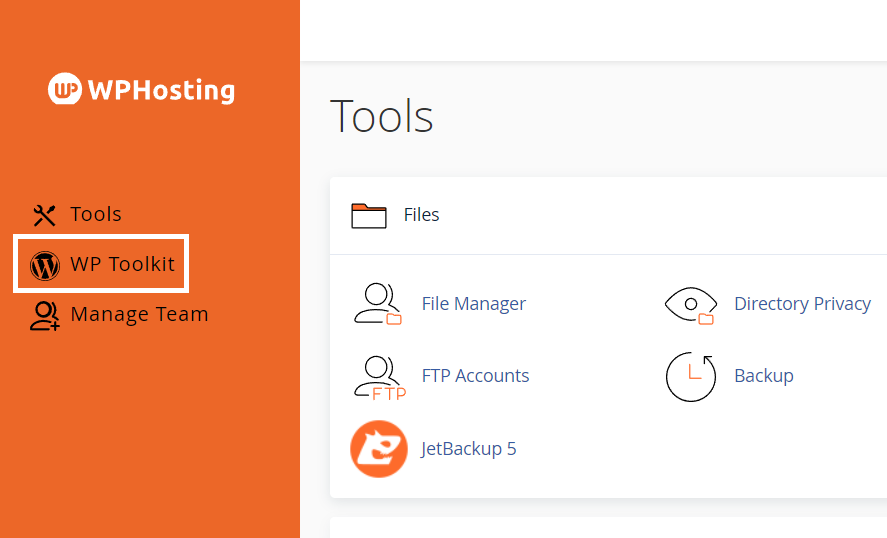
1. Login to your cPanel.
2. Click on the WP Toolkit icon in cPanel to access the WordPress Toolkit features and management options.
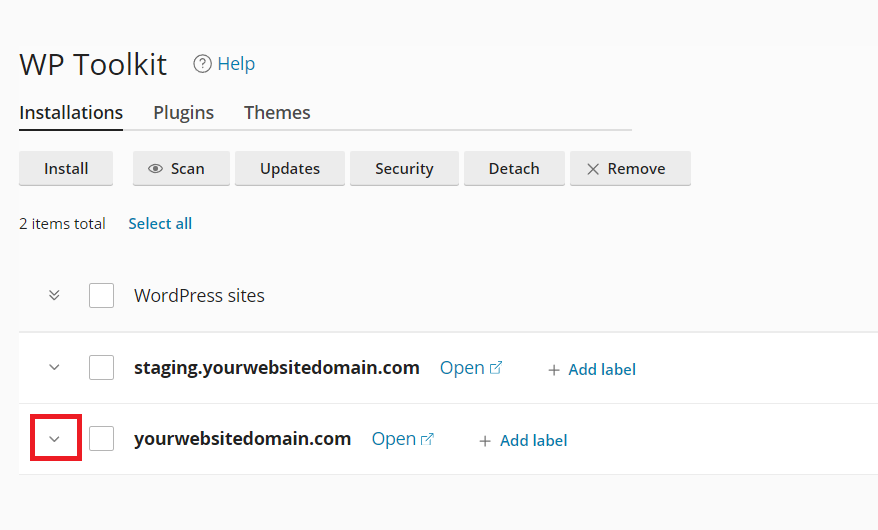
3. Click the downward-pointing arrow to expand and view your WordPress details page in WP Toolkit.
4. Navigate to the WP Toolkit in cPanel, locate the radio button labeled 'Take over wp-cron.php,' and enable it. This action will automatically configure the cron interval to 30 minutes by default.
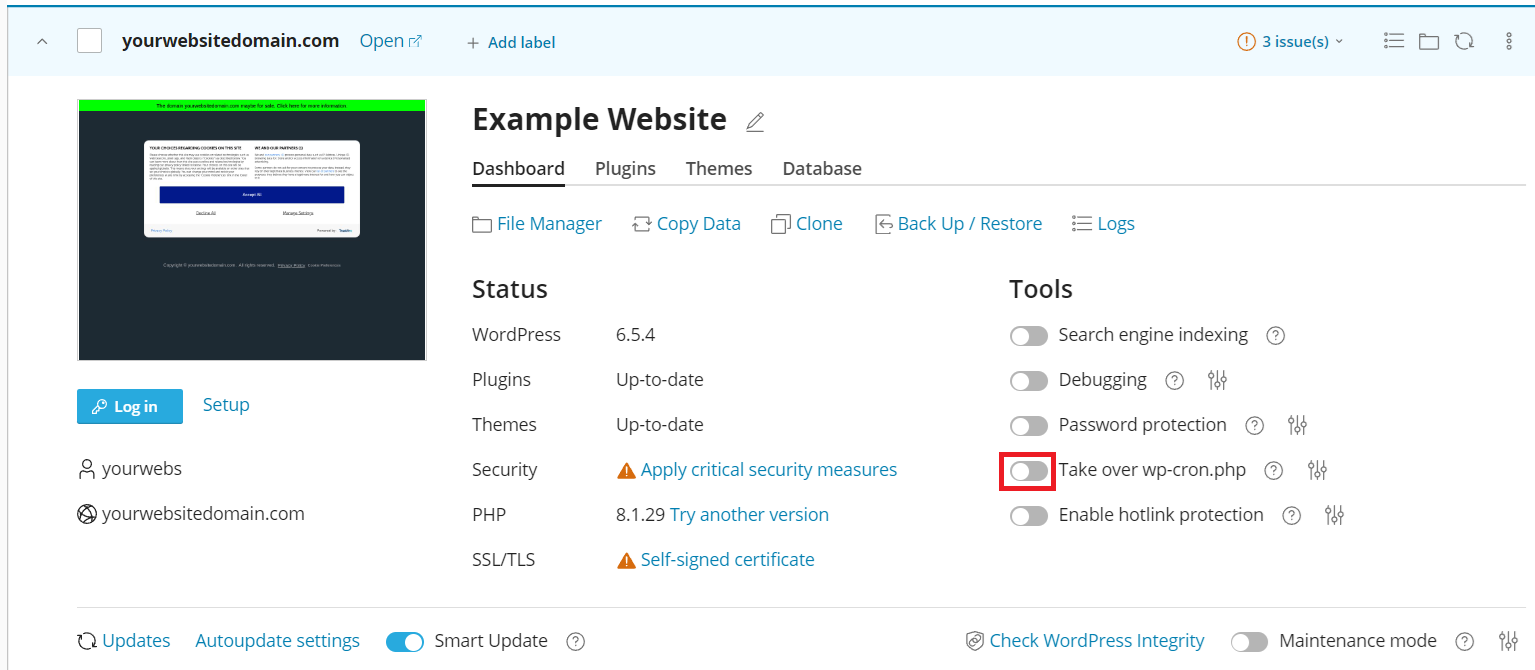
5. Once enabled, you should see a notification stating that the "native wp-cron is disabled," indicating that WP Toolkit has taken over the wp-cron setup.
