How to manage your site's "HTACCESS" file

Marc
Last Update 8 months ago
This topic covers processes relating to a cPanel service.
You will need to be logged into the cPanel account to follow the steps.
If you're not sure how to access your cPanel service — please, follow this guide before continuing: How do I Login to cPanel?
PLEASE NOTE: Be sure to backup your .htaccess file before making any modifications.
What is an .htaccess file?
The .htaccess (hypertext access) file is essential to the WordPress core, allowing the activation or deactivation of website features hosted on Apache web servers.
These files, also known as server configuration files, reside within your WordPress root directory. WordPress defaults to using .htaccess files for the management of redirects and permalink structures.
Where to find the .htaccess file
NOTE: The .htaccess file is located in the 'root' directory of the website, this is usually in the 'public_html' folder by default, but your site may have a different root directory.
To find a site's document root;
- Login to cPanel
- Click 'Domains' from the tool list
- Note the path shown in the "Document Root" column
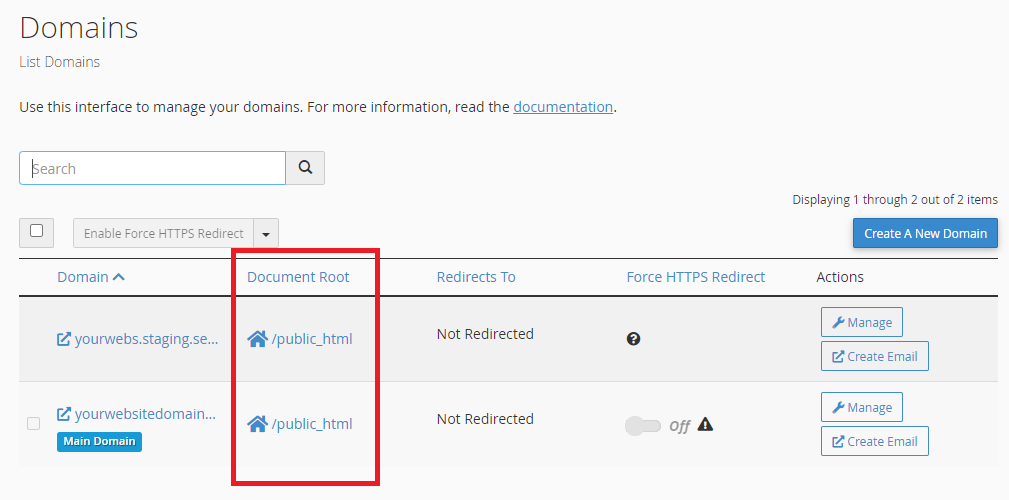
Navigate to the document root folder of your site;
- Click the link shown in the "Document Root" column as shown above, to open File Manager in the root folder
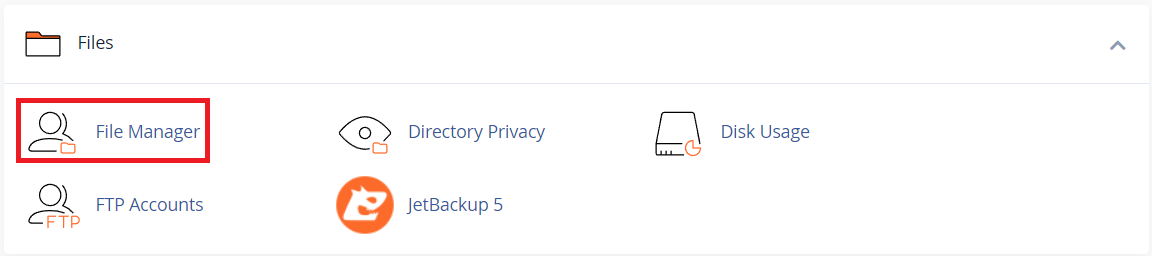
or - To use File Manager directly, from the main cPanel tools list, find the 'Files' section and click 'File Manager'.
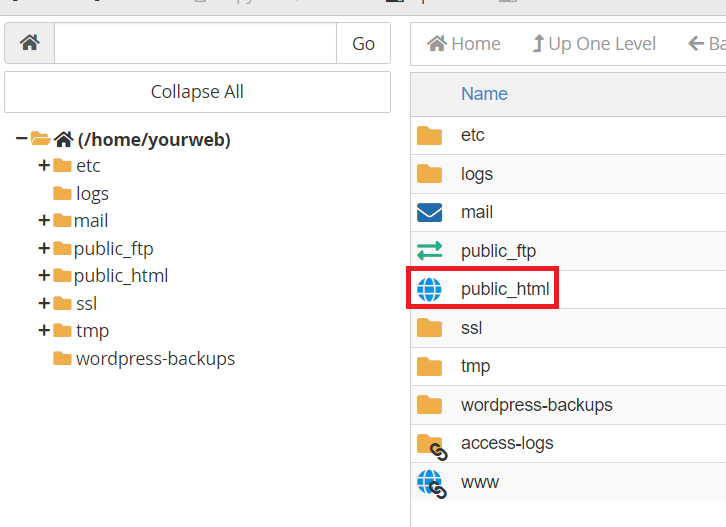
1. From within the File Manager, you can locate and open the 'public_html' (or your site's document root) folder.
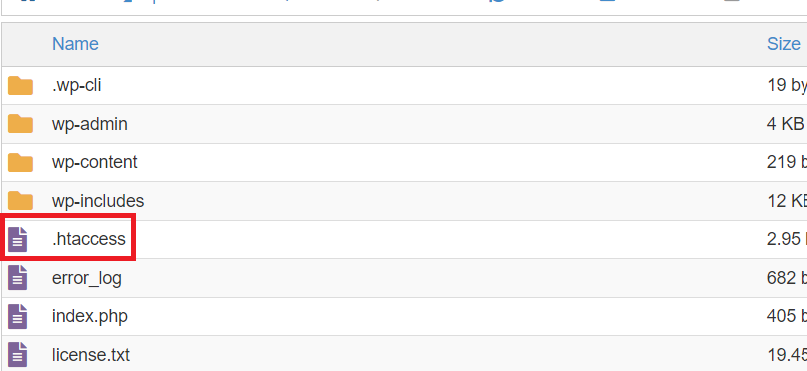
2. Here, you will see the .htaccess file.
Note: the dot (.) in the file name denotes that it is a hidden file.
If you do not see the .htaccess file, enable hidden files in the next step. Otherwise, skip to step 5.
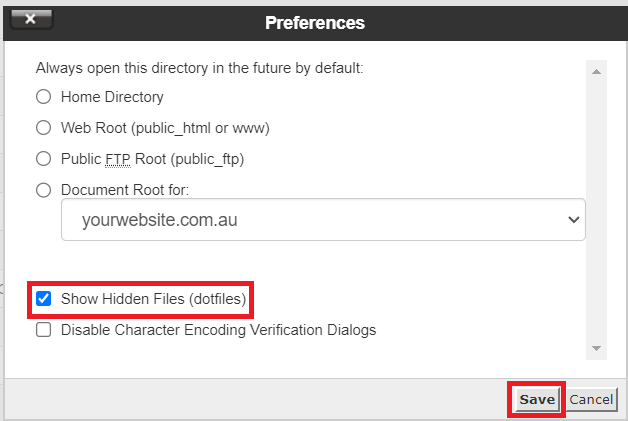
3. If you do not see the .htaccess file, navigate to the 'Settings' button in the top right corner of the File Manager.

4. In the dialogue box, select the 'Show Hidden Files (dotfiles)' checkbox. Click the 'Save' button to apply the changes.
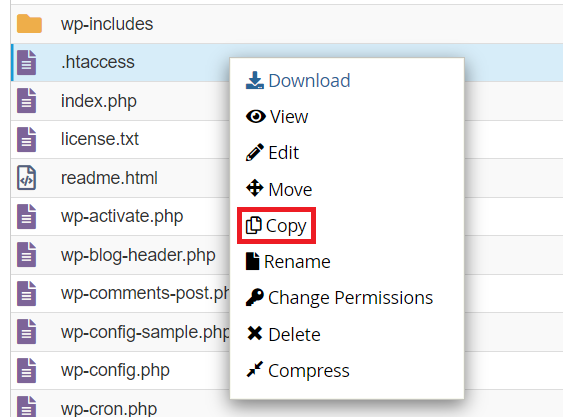
5. Before modifying the .htaccess file, we recommend making a backup first. To do this, right-click on the .htaccess file and click 'Copy'.
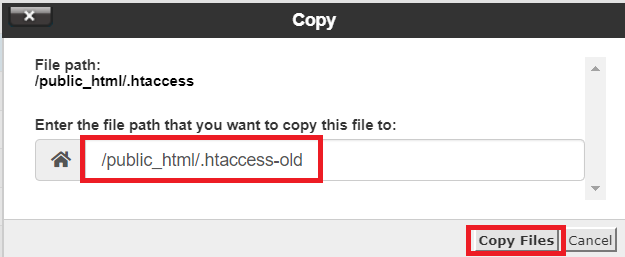
6. A pop-up window will appear.
- In the file path box, make sure to include '/public_html/' before your chosen file name - this indicates that the file will be copied inside the 'public_html' directory.
- Type in ''/public_html/.htaccess-backup" for example
- Then, click the 'Copy Files' button to save the changes.
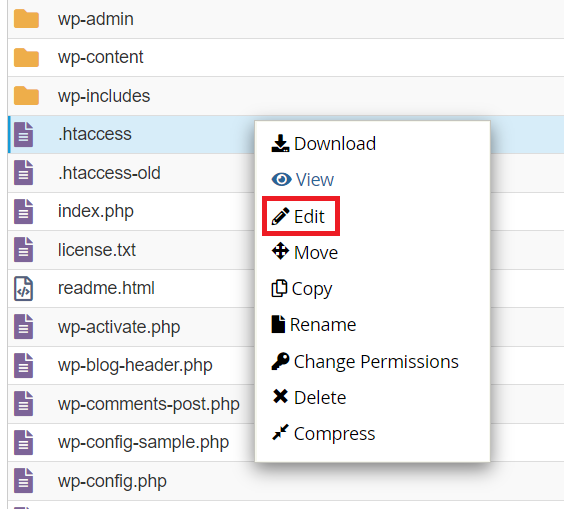
7. You will now see two .htaccess files: one named '.htaccess-backup' and the original named '.htaccess,' which you will be modifying.
To make changes, right-click on the .htaccess file and select 'Edit'.
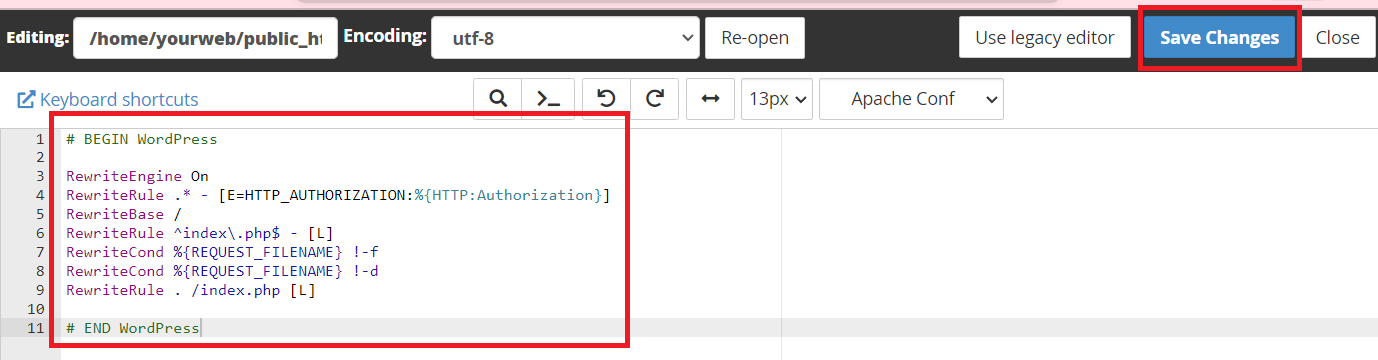
8. A text editor will open, allowing you to add/remove/edit the information in the .htaccess file.
- When done adding/editing the code, click the 'Save Changes' button.
- Once you're finished, click the 'Close' button, and you will be redirected back to the file manager.
If your WordPress site is missing the .htaccess file - you can create one using the default WordPress code block below.
NOTE: If your WordPress site is ever infected with malware, bad actors will often try to inject malicious code into your .htaccess file.
- A common symptom is that visitors trying to access your website, are redirected to another, undesirable site.
- Using the default WordPress .htaccess code provided above, you can try to resolve this issue. Simply paste it into your .htaccess file to fix the problem of website redirection caused by malware on your site.